Changes in Latitudes, Changes in Altitude
Article reproduced from Safe & Vault Technology Magazine, November / December 2021 Issue
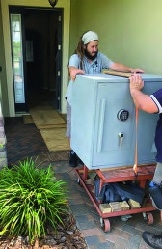
Bryan Kruysman, CML, IFDI, demonstrates how he moves safes.
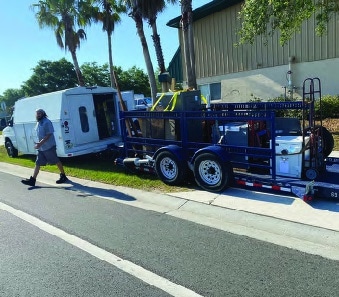
up and ready to roll.
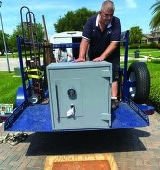
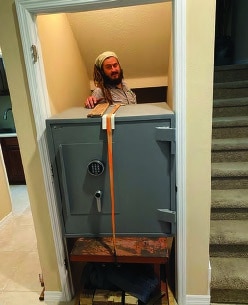
Getting a one-ton safe up to a 2′ platform is not too hard if you’re outside with a forklift. But if you are doing it in a closet under some stairs, it can be a challenge. With the right tools and equipment, it can be done. You may have to buy or rent some tools, but I will show you how to do it without getting hurt.
These jobs pay big bucks, because it seems risky, but nowhere during this job did it seem dangerous. It’s when people try to do things without knowledge, preparation and proper tools that people get hurt. I have had to clean up after an accident where a local locksmith tried to remove a door from a TL-15 safe, and it got away from him. It took off two fingers and broke his helper’s leg, but he is the best three fingered locksmith I know. I kept thinking when we picked the door up that I would find a severed phalange… Point being, be careful; these things will hurt you. At any time, anyone on my crew can say, “Wait, that does not look safe” (no pun intended), and we will stop and find another way. Big John on my crew is very particular about details and tends to be overly cautious. I let him do that all day long. Yeah, I could rush the job so I can get to the next, but I don’t. I just charge more for the time.

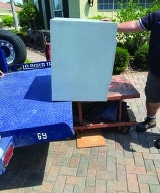
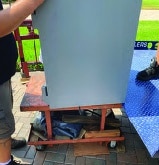
Figure 3. The safe is moved to the end
of the elevation table.
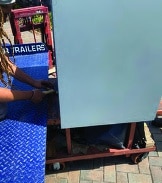
Figure 4. Big John steadies the safe as
Dallas works the trailer to the elevation
of table.
Figure 5. The safe is almost to the
correct height.
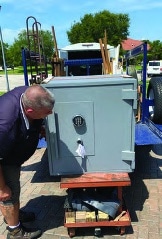
Figure 6. The safe is moving from the
trailer to the elevation table.
Figure 7. The roller will stay under the safe so that we can roll it back off trailer in its new home. 
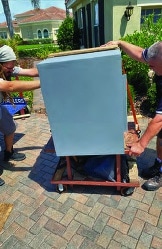
Figure 8. Dallas is putting in place a
shim stop so the safe will not roll on
table as we bring it inside.


What You Need
I am lucky to have an elevating trailer and table — both come in very handy. If you don’t have this equipment, then other ways of doing it would be cribbing it or loading the elevation table prior to delivery. I don’t like this last option because it would be top-heavy when driving, which is just not safe. Other tools needed would be a Johnson bar, rollers and lots of wood. We used plywood on this job for the flooring, but others use different materials. A good ramp that will fit though a 36″ door opening is needed, as well as straps to keep things in place.
On this job, the customer was supplying and building the platform for the safe. I agreed, as long as I could supervise. Well, mostly I just made him send me pictures and the type of material. He did a good job for a wood unit. I would have preferred a concrete poured platform, but I don’t always get my way. The platform was bolted to the wall and floor, and the safe was bolted to the platform. This needs to be done, as the shifting weight of the door can move a safe over time, and that much weight could seriously hurt or kill someone if it fell.

Figure 9. John is making sure safe is properly on table. It will be top heavy, so it must be loaded evenly. 
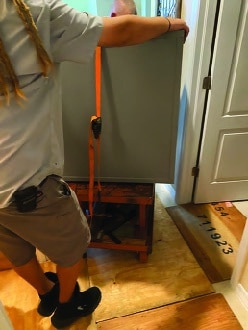
Figure 10. A rachet strap is added to keep the safe from shifting on the table. -
Figure 11. The crew wheeled it up to the ramp to enter the home. 
Figure 12. Plywood was put down to protect the flooring. The team is approaching the door to the closet under the stairs. -
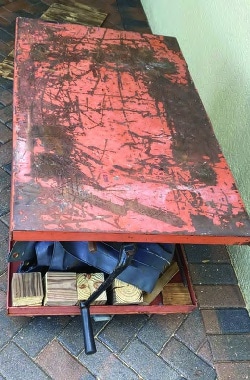
Figure 13. This photo shows the customer’s platform. It may not be pretty, but it is strong. 
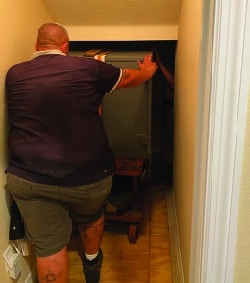
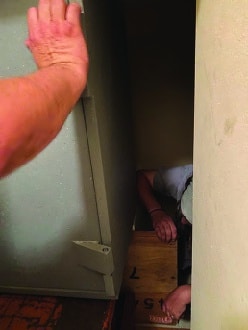
Figure 14. The door to closet was removed, and Big John is ready to do what he was born to do: pushing! -
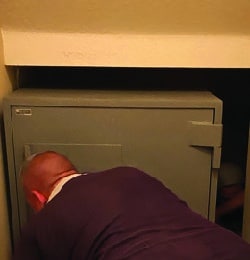
Figure 15. Dallas is thinking, “Why do I have to be back here?” Don’t worry; he will be able to get out. 
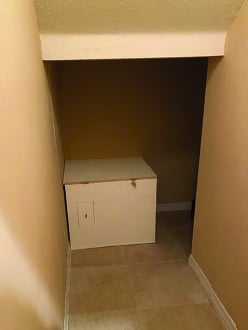
Figure 16. Slowly but surely, the safe moves into place.
Time for the Installation
Once he was done with the platform, we picked a day for the install. As it turned out, he was the second in a three-safe delivery day. It pays well to do three in a day, but my butt is dragging at the end of a day like that.
“It’s when people try to do things without knowledge, preparation and proper tools that people get hurt.”
Bryan Kruysman, CML, IFDI
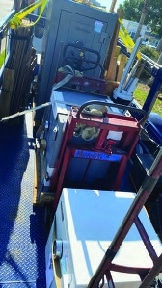
After we backed into his driveway, the safe was moved to the rear of the trailer and set on rollers. We have many sizes, but for this we used 3/8″ steel rod. We put shims underneath the safe so that it would not roll until we were ready for it to. Next, we moved our elevation table into place, with it up against the trailer’s back. As we transferred the weight, we would do slight changes in the elevation of both the trailer and the table. One trick is to let the safe’s weight move itself — work smart.
Also, the table was stabilized so that it wouldn’t move. We left one roller under the safe on the table and again shimmed it for stability. That way, once we were up to the platform, it was ready to roll onto it.
“Using the rollers can be tricky; you don’t want one too far toward the back of the safe when it gets time to remove it.”
Bryan Kruysman, CML, IFDI
Our elevation table has a manual crank (actually, two; one is geared to go faster). There are many different types of tables, including hydraulic and electric, but ours is just a manual crank. It never breaks and never needs charging. I had the customer make his platform at a height that the elevation table would reach. The range of table is from 26″ to 48″.

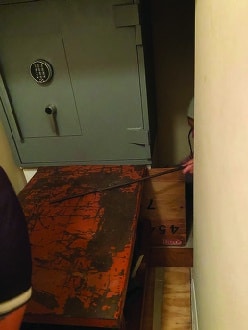
Figure 17. It does not look like Dallas will be able to escape. 
Figure 18. The safe is being elevated to match the stand height. -
Figure 19. A piece of plywood is inserted between the stand and the table for the protection of the stand. -
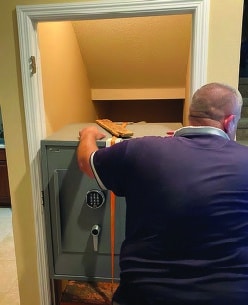
Figure 20. The roller is out, and the safe is now completely on the stand. 
Figure 21. The crank is attached to the elevation table. 
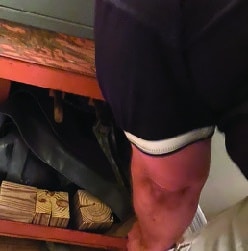
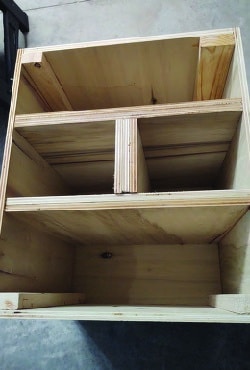
Figure 22. This image shows the construction of the stand’s interior.
Protecting the Floor
Next we put protection down on the floor. I used plywood on this job, and we also use other material depending on the job. We have a three-man crew when moving safes, and I was one of the three. The guys are good about not getting mad when I’m snapping pics. It’s a delicate balance.
We moved the safe through the house and up to the platform. Then we slowly rolled the safe into place. Using the rollers can be tricky; you don’t want one too far toward the back of the safe when it gets time to remove it. Somewhere close the middle is good. Then it was time for the Johnson bar to lift up the front of safe so that roller could be removed.
Then it was time to clean up, put all the tools away and get paid. I’m not going to tell you how much to charge, because things are different everywhere… but charge well. Not too many guys do this, and if we all charge well, we will all be well off.
The customer was really happy about this job, so I asked him for a Google review. He came through with that before we even made it to the next safe move. Move safes, and prosper!